How to Make Perfect Cake Pops: Easy Step-by-Step Guide
Ever looked at a cake pop and wished you could make it? You’re not alone. Cake pops have become a favorite treat in many homes. They’re not just a sweet snack but also a canvas for creativity.
Looking for a special treat or a unique gift? This cake pop recipe is your go-to. You’ll learn to make cake pops that look as good as they taste. Our guide will help you impress everyone with your baking skills.
Cake pops come in many flavors and designs. You’ll discover how to turn simple ingredients into beautiful desserts. No need for baking experience. Just a desire to create something special!
What Are Cake Pops and Why You’ll Love Them
Cake pops are a hit in the dessert world. They turn leftover cake into small treats that everyone loves. These tiny desserts mix cake flavor with a fun, easy-to-eat design. They’re great for any party.
Cake pops are versatile. They’re perfect for birthdays, weddings, or as a special gift. They let bakers and home cooks get creative with desserts.
The Sweet History of Cake Pops
Cake pops started as a way to use up leftover cake. They quickly became a big trend. People found that mixing crumbled cake with frosting made tasty little balls.
Popular Flavors and Variations
- Classic vanilla with buttercream
- Chocolate decadence
- Red velvet with cream cheese
- Seasonal flavors like pumpkin spice
Bakers can try many flavors with cake pops. They can make everything from classic tastes to new ones. Cake pops are a fun place for creativity in cooking.
Perfect for Any Occasion
Cake pops are great for many events. Imagine a beautifully curated cake pop gift box for a baby shower, wedding, or work event. They’re small, pretty, and loved by all.
Essential Ingredients for Your Cake Pops
Making cake pops is all about the right ingredients and tools. Quality matters to turn simple cake into tasty treats. Whether you’re new or experienced, knowing the key ingredients is crucial for perfect cake pops.
Types of Cakes to Use
Choosing the right cake is key for moist and tasty cake pops. Look for cakes that are soft and dense. Here are some great options:
- Vanilla pound cake
- Chocolate sponge cake
- Red velvet cake
- Funfetti cake
Key Supplies You’ll Need
Setting up your cake pop station needs specific tools. A cake pop maker makes the process easier. A good cake pop stand keeps your work organized while decorating.
| Essential Tool | Purpose |
|---|---|
| Cake Pop Maker | Creates uniform cake balls quickly |
| Cake Pop Sticks | Provides support and handling |
| Mixing Bowl | Combines cake crumbs with frosting |
| Baking Sheet | Allows chilling and setting of cake pops |
Decorating Essentials
Turn your cake pops into stunning desserts with these decorating tools. Melting chocolate, sprinkles, and glitters make them look and taste amazing.
- Candy melts in various colors
- Sprinkle assortments
- Edible glitter
- Piping bags
Step-by-Step Instructions for Making Cake Pops
Making cake pops is a fun but detailed process. This guide will help you through each step, from baking to decorating. With the right steps, you can turn simple ingredients into beautiful treats that everyone will love.
Baking the Perfect Cake Base
First, pick your favorite cake recipe. Vanilla, chocolate, or red velvet are great choices. Bake it in a 9×13 inch pan and let it cool completely before moving on.
- Choose a moist cake recipe
- Allow cake to cool for at least 1 hour
- Ensure cake is room temperature
Crumbling and Mixing Techniques
Crumb the cooled cake into fine crumbs by hand or with a food processor. It should feel like soft breadcrumbs. Mix in frosting slowly until the mixture sticks together when rolled.
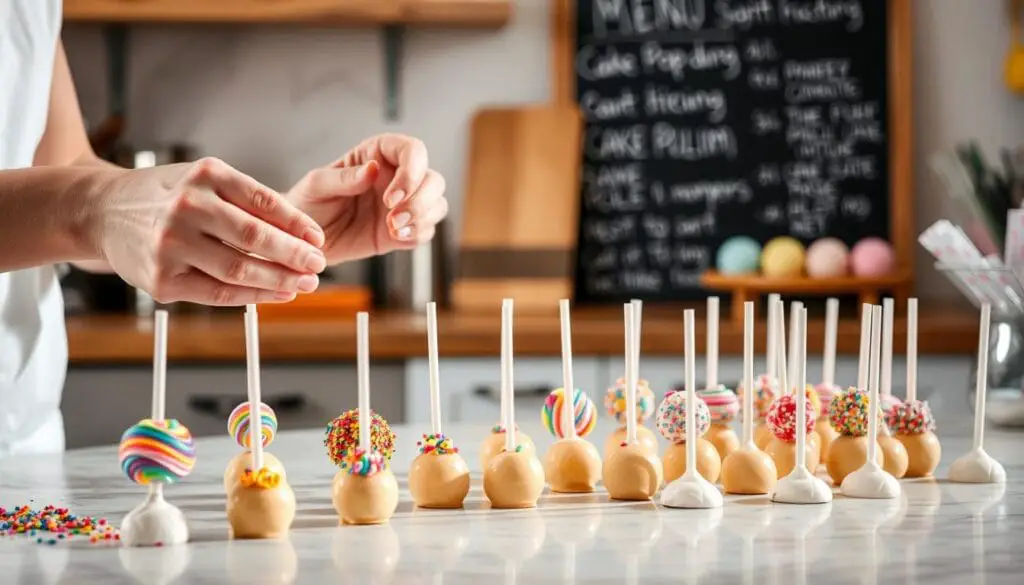
Shaping Uniform Cake Balls
Use cake pop molds or roll the mixture into walnut-sized balls. Chill the balls for 15-20 minutes to firm them up before dipping.
| Cake Ball Size | Recommended Weight |
|---|---|
| Small | 0.5-0.75 oz |
| Medium | 1-1.5 oz |
| Large | 2-2.5 oz |
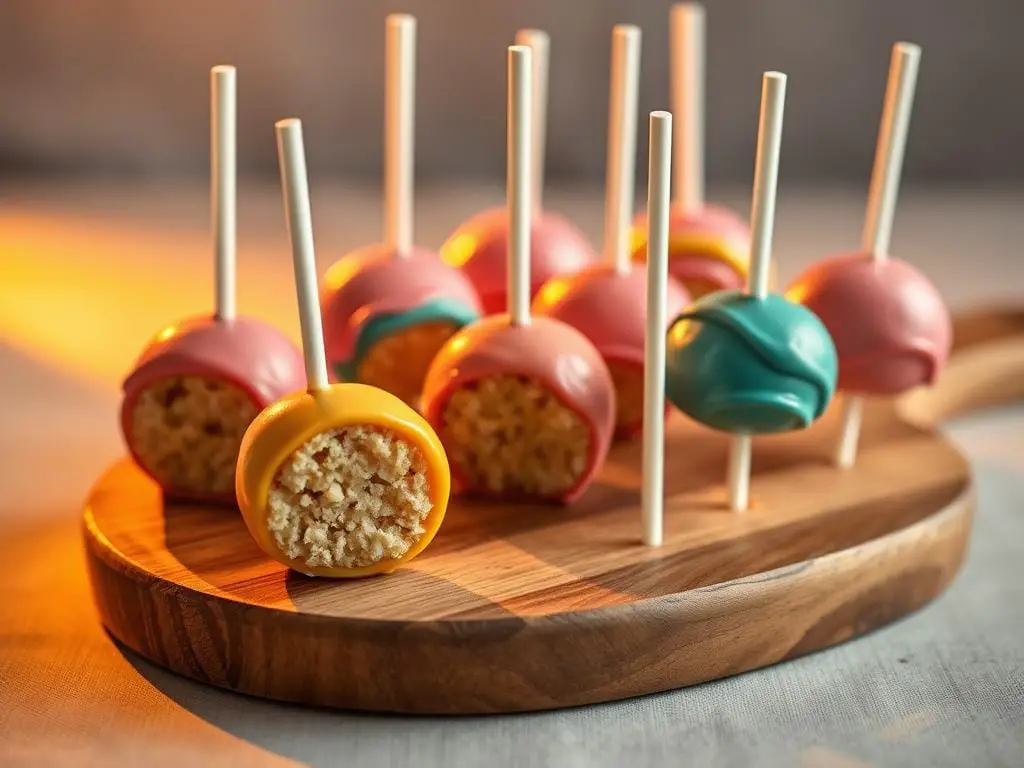
Dipping and Decorating Mastery
Melt chocolate coating in a deep, narrow container for easy dipping. Insert lollipop sticks into chilled cake balls, then dip each into melted coating. Tap off excess and decorate right away with sprinkles or drizzles.
- Use candy melts for vibrant colors
- Work quickly during decoration
- Allow coating to set completely
Try different cake pop molds for unique shapes and designs. Remember, practice makes perfect in cake pop decorating!
Tips and Tricks for Successful Cake Pops
Getting good at making cake pops takes time and some special tips. Whether you’re making them for a party or thinking about starting a cake pop business, knowing the right techniques is key. Professional bakers say that paying attention to small details can make a big difference in how they look and taste.
How you coat your cake pops is very important. If your cake balls are too cold, they might crack. So, let them sit at room temperature before you dip them. Use good-quality candy melts or chocolate that’s smooth. When you dip, gently tap off any extra coating to get a clean, professional look. This can help attract customers to your cake pop business.
Avoiding Common Mistakes
Keeping the right temperature is key when making cake pops. Chill your cake balls a bit before coating, but don’t leave them too long. If they get too cold, the chocolate might not stick right or could crack. Also, keep your workspace clean and organized. This helps you do better and gets you ready for making cake pops on a bigger scale.
Enhancing Flavor and Presentation
Try different flavors to make your cake pops stand out. Add extracts like vanilla, almond, or lavender to the cake crumbs. Use sprinkles, edible glitter, and careful drizzling to make your cake pops look amazing. This will make customers love them.
Storage and Serving Suggestions
Keep cake pops in airtight containers at room temperature for 2-3 days or in the fridge for up to a week. Always wrap them up individually for the best look. When you serve them, use stands or arrange them in a creative way. This will impress your clients or party guests.
FAQ
What are cake pops?
Cake pops are small desserts made from cake and frosting. They’re shaped into balls, then coated in chocolate. They’re easy to eat and can be made for any event.
How long do cake pops stay fresh?
Cake pops can last 3-5 days at room temperature. If refrigerated, they can last up to a week. Keep them in a cool, dry place away from sunlight.
Can I make cake pops without a cake pop maker?
Yes, you can make cake pops without a special maker. Just crumble a cake, mix it with frosting, and shape into balls. This method lets you be creative.
What’s the best type of cake to use for cake pops?
Use moist cakes like vanilla or chocolate for cake pops. Avoid light or crumbly cakes that might fall apart.
How do I prevent my cake pops from falling off the stick?
Dip the stick in melted chocolate before adding the cake ball. Chill the balls and coat when the chocolate is just right.
Can I freeze cake pops?
Yes, freeze cake pops for up to 4-6 weeks. Wrap them in plastic wrap and store in an airtight container. Thaw in the fridge before serving.
Are cake pops difficult to make for beginners?
Cake pops are not hard for beginners. Just follow a recipe, be patient, and practice. You’ll get better with time.
How can I decorate cake pops creatively?
Decorate cake pops with drizzled chocolate, sprinkles, or edible glitter. You can also use food coloring and piping for themed designs.
Can I make cake pops for a business?
Yes, many start cake pop businesses. Perfect your recipe, invest in packaging, and market on social media. Follow local food laws and get permits.
What’s the best way to transport cake pops?
Use a cake pop stand or a carrier with holes to keep them upright. Keep them cool and avoid sunlight during transport.