How to Make a Hello Kitty Cake: Easy Step-by-Step Guide
Baking is my way to spread joy. A Hello Kitty cake captures childhood magic perfectly. It’s perfect for birthdays or just to make someone smile.
Making a Hello Kitty cake might seem hard, but it’s not. This guide will show you how to make a cake that looks great and tastes even better.
You’ll learn about choosing ingredients and decorating techniques. It’s easy, even if you’re new to baking. This guide is for everyone who wants to make a memorable cake.
Ready to make something special for your loved ones? Let’s start making a Hello Kitty cake!
Gather Your Ingredients and Tools
Making the perfect sanrio character cakes needs careful planning and the right stuff. Before starting your novelty sweets project, let’s look at what you’ll need. You’ll need ingredients to make an adorable Hello Kitty cake that will make everyone happy.
Essential Ingredients for the Cake
Your hello kitty cake begins with top-notch baking ingredients. Here’s what you’ll need:
- All-purpose flour
- Granulated sugar
- Unsalted butter
- Large eggs
- Vanilla extract
- Baking powder
- Salt
- Milk
Baking Tools You’ll Require
Get your kitchen ready with these key baking tools:
| Category | Specific Tools |
|---|---|
| Mixing Equipment | Stand mixer or hand mixer, mixing bowls, rubber spatula |
| Baking Supplies | 9-inch round cake pans, parchment paper, cooling rack |
| Measuring Tools | Measuring cups, kitchen scale, measuring spoons |
Optional Decorative Extras
Make your Hello Kitty cake even more special with these fun extras:
- White fondant for Hello Kitty’s face
- Food coloring (pink and black)
- Piping bags and tips
- Edible glitter or sprinkles
- Decorative cake board
By getting these ingredients and tools ready, you’ll have a smooth and fun cake-making time. Your hard work will make a delightful Hello Kitty cake that will be the highlight of any party!
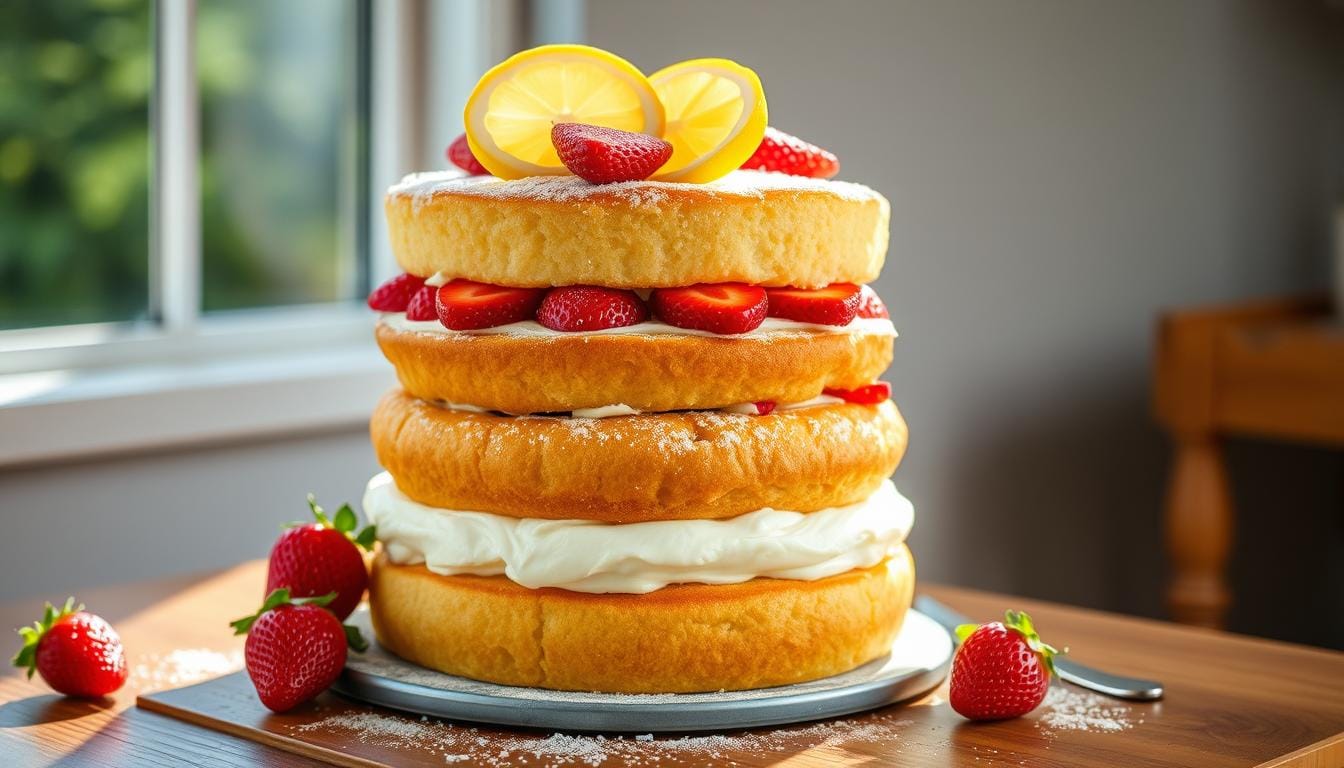
Create the Hello Kitty Cake Base

Making the perfect base is key for your Hello Kitty cake. A tasty base will make your treats shine and create unforgettable birthday memories. Let’s explore how to turn your Hello Kitty cake into a masterpiece.
Step-by-Step Baking Instructions
To start your Hello Kitty cake, you need to measure and mix carefully. Here’s how to make a delicious cake base:
- Preheat your oven to 350°F (175°C)
- Grease and flour your cake pan well
- Sift dry ingredients to avoid lumps
- Cream butter and sugar until fluffy
- Add eggs one at a time, mixing well after each
- Mix dry ingredients into wet ingredients slowly
Tips for Perfect Cake Texture
Getting the right cake texture is an art. Room temperature ingredients are crucial for a smooth batter. Here are some expert tips:
- Avoid overmixing the batter
- Use fresh ingredients
- Measure ingredients precisely
- Check oven temperature with a separate thermometer
Cooling Your Cake Correctly
Cooling your cake right is vital. Take it out of the pan after 10-15 minutes. Then, let it cool fully on a wire rack. This stops soggy bottoms and makes decorating easier.
Pro tip: Wrap your cooled cake in plastic wrap and chill for 30 minutes before decorating. This makes the surface firmer, perfect for frosting and designs.
Decorating Your Hello Kitty Cake
Turning your cake into a Hello Kitty masterpiece needs patience and creativity. Use decorating techniques to bring the character to life. Make sure your workspace is clean and your tools are ready.
Creating Hello Kitty’s face requires precision. Use white fondant to make her smooth features. Roll the fondant thin and cut out her face and bow with special cutters.
For realistic details, use food-safe paint brushes. Add her tiny black eyes and minimalist whiskers for a realistic look.
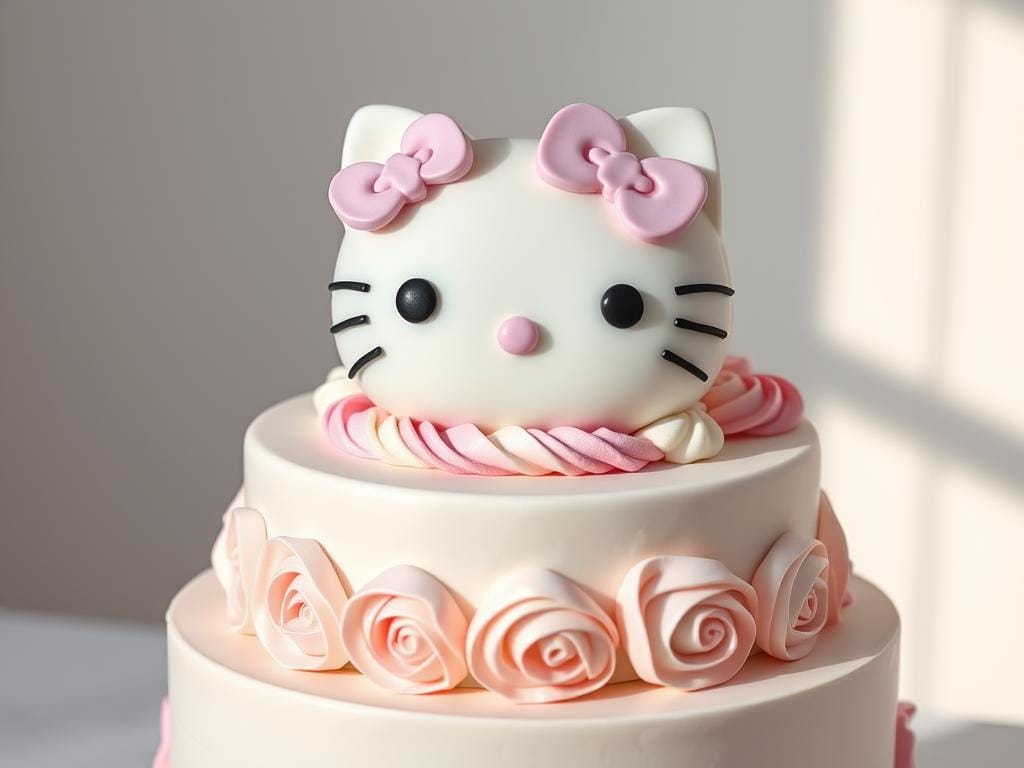
Designing the Hello Kitty Face
Your Hello Kitty cake will look amazing with the right details. Start by covering the cake with white buttercream or fondant. Use black and red food coloring for her face and bow.
Remember, symmetry is important. Take your time to measure and place each detail. This will help capture Hello Kitty’s charming look.
Icing and Fondant Techniques
Practice your decorating skills before you start. Have extra fondant and icing for any mistakes. Try different piping tips and tools for clean lines.
Adding Final Touches and Presentation Tips
Finish your cake with background details or a themed cake board. Add edible glitter or pearl dust for a magical touch. Show off your cake on a clean, white cake stand to highlight the decorations.
FAQ
How difficult is it to make a Hello Kitty cake?
Making a Hello Kitty cake is easy for anyone. Just prepare well and follow the steps. Even beginners can make a cute cake with practice and patience.
What basic tools do I need to decorate a Hello Kitty cake?
You’ll need basic tools like piping bags and fondant tools. Also, offset spatulas, a cake turntable, and food coloring are important. For Hello Kitty’s face, small brushes and white and black frosting are key.
Can I make a Hello Kitty cake if I’m not a professional baker?
Yes, you can! Just be patient and practice. Start with a simple cake and use templates for the face. Feel free to try new decorating tricks.
How far in advance can I make the cake?
Bake the cake layers 1-2 days before decorating. Store them wrapped in plastic at room temperature. Decorated cakes are best eaten within 2-3 days for the best taste and look.
What type of frosting works best for Hello Kitty cakes?
Buttercream frosting is great for Hello Kitty cakes. It’s easy to color and smooth. Fondant is also good for clean lines and a cartoon look.
Are there alternative designs if I find the full Hello Kitty face challenging?
Yes! Try simpler designs like a Hello Kitty silhouette. Use stencils or edible images. Or, add Hello Kitty’s bow or face as decorations instead of a full face.
How can I transport a decorated Hello Kitty cake?
Use a strong cake carrier with a tight lid. Make sure the cake is cold before moving it. Place it on a non-slip surface in your car. Avoid sudden stops or sharp turns to protect the cake.